Do you have Windows laptop or desktop or any other Windows devices with you, with all your precious data on it? Or have you just spend thousands dollars and bought the new Surface or Surface Go? Well, be sure to enable Find My Device just in case you need to track when you lose the device.
Here’s how you can Enable Windows Find My Device.
Tested on Windows 10. Do note, Find My Device is not account specific, it affects everyone who uses this device including Administrator.
1) Once your PC (laptop, desktop, Surface, anything) booted up, click Windows Logo then go to Settings.
2) Under Windows Settings, find and click Update & Security.
3) Under Update & Security, on the left menu, find and click Find My Device.
4) Under Find My Device, turn ON Find My Device by clicking on Change button and set it to ON. Click Turn On Location to enable location tracking too (recommended otherwise you won’t get precise location). When Find My Device is turned on, by default Location Service is also turned on.
In case you can’t find Location (or Turn on location link) here, go to Settings, find and click Privacy, then on the left menu, find and click Location. You’ll find it there.
Well done. You just finished and successfully setting up Windows Find My Device.
Find other awesome articles, tips, tricks related to Life and Tech, iOS and Android quick review on:
How to track your device using Windows Find My Device and Lock It Out
Now either for testing purpose only or you really need to track your missing device to locate or lock it away, do the following steps.
All these steps below can only be done if you have enable Find My Device.
1) Open browser and key in https://account.microsoft.com/devices.
2) Log in if prompted with your PC account.
3) Once logged in, under Devices, find your correct device (laptop, desktop, Surface, anything) to find.
4) Search by Computer Name and Model. Once found, click on Find My Device.
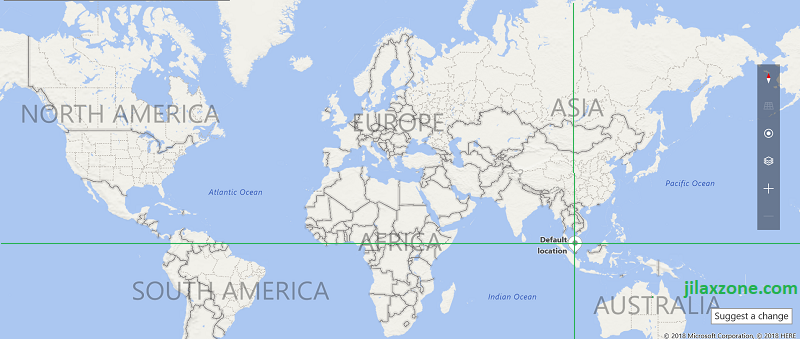
5) Under Find My Device, you can see the location of your device. In my case, the location shown is accurate.
The next steps required only if you need to lock your device.
Attention! If you intention is to just test the locking mechanism, do save your work before continuing. Because the moment lock instruction is sent, it will lock the PC and log out any users logging in. Any unsaved works will be deleted/gone.
6) Click on Lock button to start the locking procedure.
7) Under Lock your device window, click Next once you read the text.
8) Under Create a lock screen message window, type your message to be sent to the device/PC. Do give meaningful message, such as give contact number and/or return address.
9) Once done with the message, click on Lock to start locking your device/PC.
Your windows device/PC will get locked once its connected to internet.
10) If you finally found your Windows device/PC, unlock the device using Administrator account.
Bring It All Together
Don’t let yourself be a victim of crime and at the same time lose everything (read: data). Set up this Windows Find My Device today, now, to save yourself in the future, in the event you lose your device and want to track it out and/or lock it out.
For Life, Tech tips, iOS and Android Apps and Games quick review, do visit below:
Hi, thanks for reading my article. Since you are here and if you find this article is good and helping you in anyway, help me to spread the words by sharing this article to your family, friends, acquaintances so the benefits do not just stop at you, they will also get the same goodness and benefit from it.
Thank you!

