


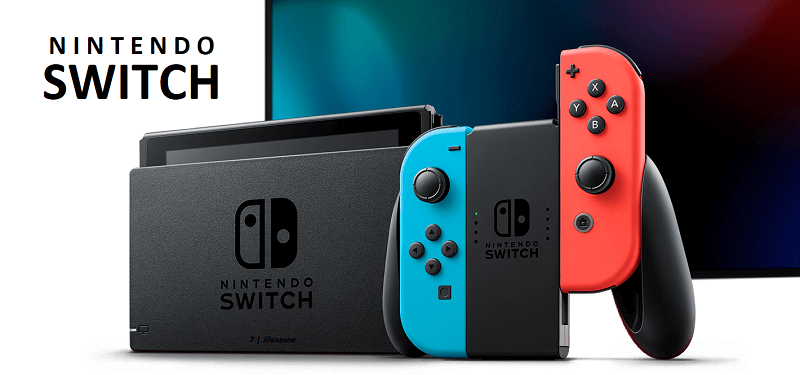
Either you want to repurpose your old Nintendo Switch MicroSD card containing emuNAND because you already have a new bigger microSD card for your Switch or you simply don’t want to use emuNAND anymore on your Nintendo Switch, in this guide, I’m showing how you can easily delete emuNAND from your Nintendo Switch MicroSD card so that your MicroSD card will get return back to its normal – full capacity size. In case you are not aware, having emuNAND installed on your MicroSD card will take up 32GB of your MicroSD card storage and this emuNAND partition is nowhere to be find using normal Computer File Explorer (such as Windows Explorer).
Before starting, these are links you may want to check in case you need them:
Check if your Nintendo Switch is running CFW: Nintendo Switch CFW Checker at JILAXZONE.
Differences between sysNAND, emuNAND, sysMMC and emuMMC: sysNAND vs emuNAND vs sysMMC vs emuMMC explained at JILAXZONE.
- This article shares the simple guide to delete emuNAND from your Nintendo Switch MicroSD card.
- For other interesting articles, head to: Nintendo Switch tips and tricks, PlayStation, Xbox, Games, FREE games & stuffs, how-to and more at JILAXZONE.
- If you find this article / content inside is already obsolete, do let me know by commenting on the comment section below so that I can update the article to reflect the latest process/news. Thanks.
Prerequisites
Before updating Atmosphere and Hekate, do ensure you are meeting the prerequisites here.
1) Computer
You need a computer to remove the emuNAND from Nintendo Switch MicroSD card.
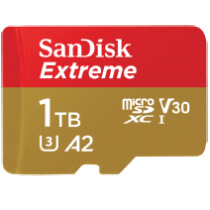
2) MicroSD Card adapter
Any MicrosSD card adapter will do the job, as long as you can plug your Nintendo Switch MicroSD card into your Computer.
In case you don’t have any, check out this link to get one.
| MicroSD Card Adapter |  | MicroSD Card Adapter on Amazon MicroSD Card Adapter on AliExpress |

Nintendo Switch: Delete emuNAND from MicroSD Card
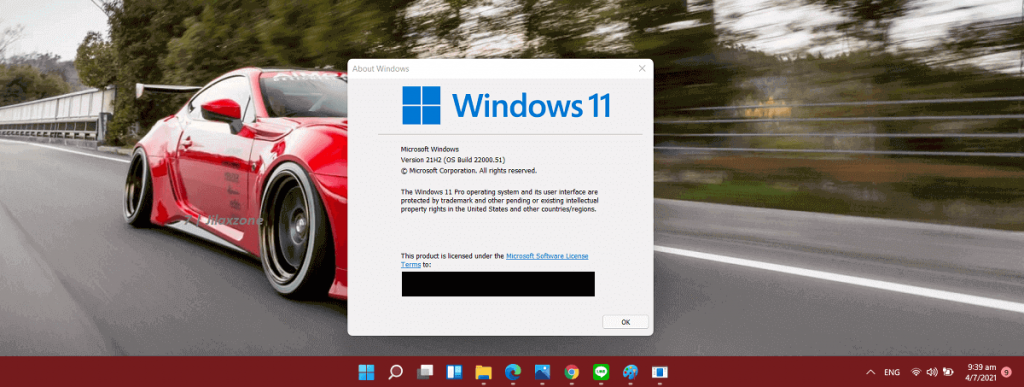
| The steps written here are tested on: 1) Nintendo Switch microSD card containing emuNAND flashed using Hekate. 2) PC running Windows 11. PC is used to delete the emuNAND from Nintendo Switch. Should you are using different version of Nintendo Switch flashing method and / or Computer OS, the steps may be slightly different but should not deviate too much. Anyway, in case you have questions / issues, feel free to put them down on the comment section down below, I’ll be more than happy to help you. |
Step 1) Switch off your Nintendo Switch
Switch off your Nintendo Switch which running Atmosphere CFW (Do not put to sleep, but to switch off). Press the Switch Power button for 5 second until the Power menu pops-up, then select “Power Options”, then “Turn Off” to turn off the Switch.
Step 2) Take out the MicroSD Card & Plug the MicroSD Card to your Computer

Once fully switched off, take out the MicroSD card containing CFW (emuNAND) from the Nintendo Switch.
Using the MicroSD card adapter, plug the MicroSD card into your Computer. Your Nintendo Switch MicroSD card should be detected by your Computer. You can check it by opening a Windows Explorer (from your Desktop, press Windows button + E to open Windows Explorer). Do remember your Nintendo Switch MicroSD card name and disk drive.
Step 3) Backup your MicroSD Card Contents
This step is important but optional, proceed to backup your Nintendo Switch MicroSD card contents only if you think you’ll need them in the coming future, if not, then you can skip this step. Use the following steps to backup your Switch MicroSD Card:
a) Open Windows Explorer and create a MicroSD Backup folder anywhere you like (E.g.: C:\switch\microsdbackup).
b) Open Windows Explorer (another one) and navigate to the Nintendo Switch MicroSD Card folder (This could be on your D:\, E:\, F:\, G:\ folder).
c) Inside Nintendo Switch MicroSD Card folder, select everything you can see by pressing Ctrl+A, then copy everything by pressing Ctrl+C.
d) Now go back to MicroSD Backup folder (E.g.: C:\switch\microsdbackup), then press Ctrl+V to paste everything inside Nintendo Switch MicroSD Card folder into MicroSD Backup folder.
Wait until all files has been transferred successfully. Once all files has been successfully transferred, means you have successfully backup your Nintendo Switch MicroSD Card.
Step 4) Open Disk Management

On your Computer, click Windows Start button and type “Create and format hard disk partitions” and click on it, it will then open “Disk Management”.
Step 5) Locate Nintendo Switch MicroSD Card inside Disk Management
Inside Disk Management, find your Nintendo Switch MicroSD card by looking on your Nintendo Switch MicroSD card name and disk drive.
Step 6) Delete Volume
Once you locate your Nintendo Switch MicroSD card inside Disk Management, do the following steps:
a) Click on the “Healthy (Primary Partition)”, then right click and select “Delete Volume”.
b) When prompted by “Deleting this volume will erase all data on it. Back up any data you want to keep before deleting. Do you want to continue?”, click “Yes” to proceed delete the Nintendo Switch MicroSD card volume.
Once you have done this, your Nintendo Switch MicroSD card contents will be deleted permanently, however proceed to the next step to remove Nintendo Switch emuNAND.
Step 7) Create A New Volume
Once you delete the existing volume from your Nintendo Switch MicroSD card, now the MicroSD will be just 1 single “Unallocated” chunck. Do the following steps to create a new volume:
a) Right click on “Unallocated” chunk, then “New Simple Volume”.
b) Click “Next” > “Next” > “Next” > “Next” and “Finish” to leave all in default settings.
Once you have done this, your Nintendo Switch emuNAND will be deleted permanently from the MicroSD card, so now you can repurpose the MicroSD card for something else.
Bring it all together
So now you know how you can remove emuNAND from the Nintendo Switch MicroSD card. If you are following all the steps mentioned above correctly, you should see your Nintendo Switch MicroSD card size returns back to normal. Do let me know in case you have queries or encounter any difficulties on the comment section down below. I’ll be happy to assist.

Interested to see other Nintendo Switch tips and tricks, including other tricks to identify fake Nintendo Switch and how to keep Switch battery to last longer? Check them out here: Nintendo Switch tips and tricks at JILAXZONE.
Do you have anything you want me to cover on my next article? Write them down on the comment section down below.
Alternatively, find more interesting topics on JILAXZONE:
JILAXZONE – Jon’s Interesting Life & Amazing eXperience ZONE.
Hi, thanks for reading my curated article. Since you are here and if you find this article is good and helping you in anyway, help me to spread the words by sharing this article to your family, friends, acquaintances so the benefits do not just stop at you, they will also get the same goodness and benefit from it.
Or if you wish, you can also buy me a coffee:


Thank you!
Live to Share. Share to Live. This blog is my life-long term project, for me to share my experiences and knowledge to the world which hopefully can be fruitful to those who read them and in the end hoping to become my life-long (passive) income.
My apologies. If you see ads appearing on this site and getting annoyed or disturb by them. As much as I want to share everything for free, unfortunately the domain and hosting used to host all these articles are not free. That’s the reason I need the ads running to offset the cost. While I won’t force you to see the ads, but it will be great and helpful if you are willing to turn off the ad-blocker while seeing this site.