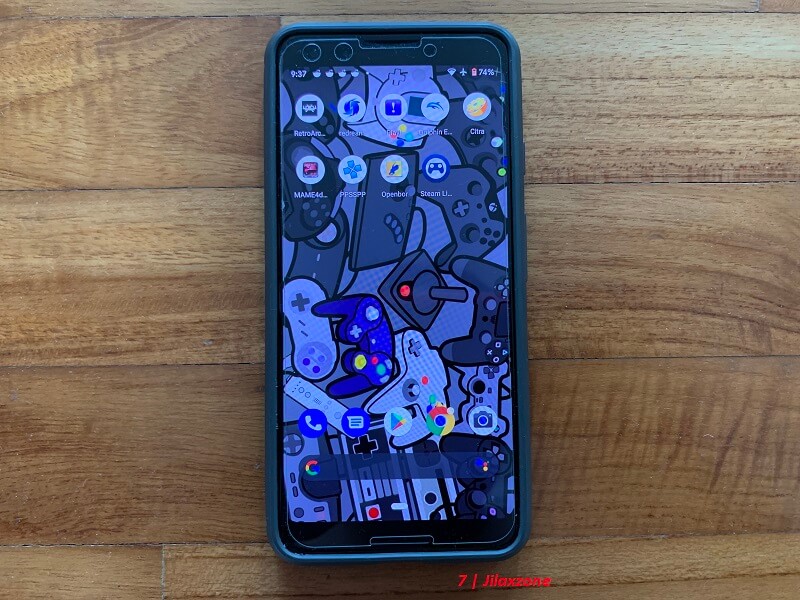
RetroArch: How to remove cores from RetroArch for Android
- This tutorial detailed the steps to remove RetroArch cores that you are no longer using.
- For other interesting articles related to gaming, check it out here RetroArch, Xbox, PS5, Nintendo Switch, other gaming, Android, iOS, Tech or more at JILAXZONE.
- If you find this article / content inside is already obsolete, do let me know by commenting on the comment section below so that I can update the article to reflect the latest process/news. Thanks.
RetroArch is one of the best multiple retro console games emulator out there. There’s no doubt about it, however at the same time, RetroArch is also known for its complex and difficult to navigate menus and interface – especially if you are new to RetroArch. That’s the main reason I’m writing this article (and future article related to RetroArch), to share the step by step setup and configuration as well as tips and tricks that do not exist on RetroArch documentations so that you can maximize your RetroArch experience.
This time, in this article, I’m going to share detail step by step on how to remove RetroArch cores on Android. Because installing a new core is easy, but when it comes to removing any of them, there’s no such options seen from Android.
Here’s how to delete cores from RetroArch for Android without uninstalling
The steps below are based on Android 11 running on Google Pixel, if you are using different Android version and phone, the steps may slightly differs from yours, so please adjust accordingly. The steps involves you to take note of your existing RetroArch core that you want to keep.

1) Open and run RetroArch.
2) Go to “Load Core”, then take note of existing RetroArch cores that you want to keep.
3) Exit RetroArch.
4) On your Android home screen, go to Settings > Apps & Notifications > App info > RetroArch > Storage & cache.
5) Under Storage, tap on “Clear storage”.
6) Now go back to Android home screen and run RetroArch, then go to “Load Core”. You should see now all cores have been removed – including those that you want to keep.
7) Reinstall the cores on your keeping list by tapping on “Download a core” and download them one by one.
Once you have done the steps above, all the unwanted RetroArch cores is now gone and left with all the cores that you want to keep and use only.
Bring it all together
The steps provided above isn’t ideal, but they get the work done, those RetroArch cores you don’t want to see them anymore will be gone once you perform the steps.
In case you have any queries or confusions, don’t hesitate to submit a questions / queries on the comment section down below, I’ll be happy to help.
Do you have anything you want me to cover on my next article? Write them down on the comment section down below.
Alternatively, find more interesting topics on JILAXZONE:
JILAXZONE – Jon’s Interesting Life & Amazing eXperience ZONE.
Hi, thanks for reading my curated article. Since you are here and if you find this article is good and helping you in anyway, help me to spread the words by sharing this article to your family, friends, acquaintances so the benefits do not just stop at you, they will also get the same goodness and benefit from it.
Or if you wish, you can also buy me a coffee:

Thank you!
Live to Share. Share to Live. This blog is my life-long term project, for me to share my experiences and knowledge to the world which hopefully can be fruitful to those who read them and in the end hoping to become my life-long (passive) income.
My apologies. If you see ads appearing on this site and getting annoyed or disturb by them. As much as I want to share everything for free, unfortunately the domain and hosting used to host all these articles are not free. That’s the reason I need the ads running to offset the cost. While I won’t force you to see the ads, but it will be great and helpful if you are willing to turn off the ad-blocker while seeing this site.


