Renewing Let’s Encrypt SSL/TLS Certificate The Easy Way
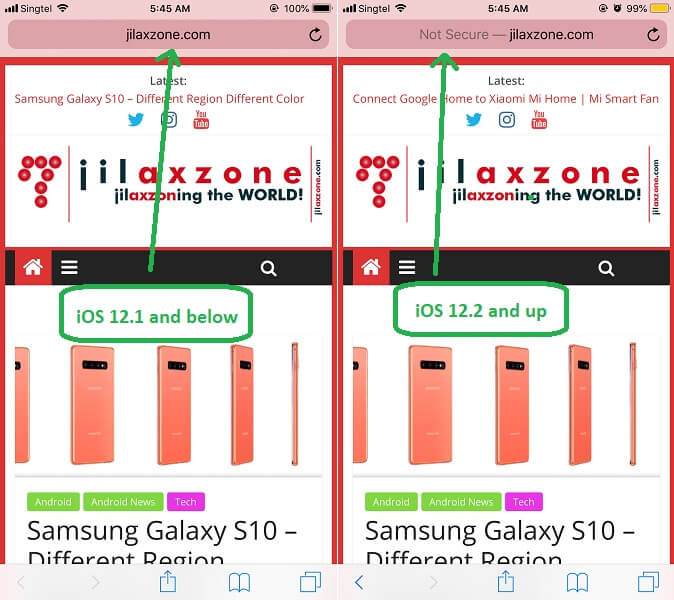
These days, who doesn’t enabled HTTPS on their websites? If you are a website owner and you haven’t enabled HTTPS on your website, you may (or even have happened to you already) encounter a decrease in incoming traffic, because since some times back, not only Chrome has shown “Not Secure” logo on its browser but also mobile browser such as iOS Safari has done the same thing – see here for details. As a normal users, typically when they see “Not Secure” tagging, they will leave the website – afraid of the consequences, though not every non-HTTPS website are bad. Ask this to yourself, will you still browse non-HTTP website these days? Most likely no, especially if it’s related or involving transactions (Eg: puchase item online).

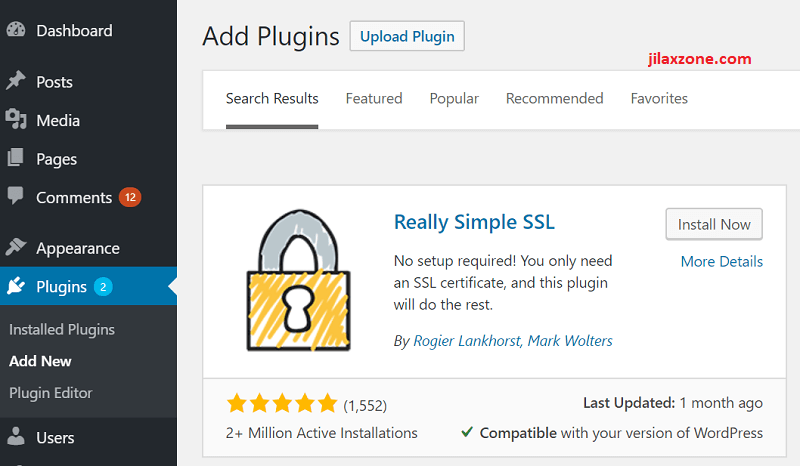
Luckily there’s an easy solution and good thing – it’s FREE – from a non-profit certification authority called Let’s Encrypt. Check this link for step by step in case you haven’t applied one to your website.

This article is for you who have use Let’s Encrypt certificate to enable HTTPS on your website, but looking for a way to renew it.
Let’s Encrypt Certificate – How to renew
Hopefully you are not surprise why Let’s Encrypt Certificate is only lasted for such a short period only – 90 days to be exact, but if you do – I spit out the reasons below, do read them.
Here I’m going to show you how to renew Let’s Encrypt SSL/TLS Certificate easily with only a few command lines, some people instead of calling Let’s Encrypt SSL/TLS Certificate, they go by Let’s Encrypt HTTPS Certificate. Well, they are practically the same in this context.

For the record, I’m using WordPress hosted on Bitnami (using AWS LightSail), so if you are using something different, the steps below may differ a little bit, especially the path and location, but the commands executed and steps are pretty much the same.
So let’s start renewing Let’s Encrypt HTTPS Certificate.
1) Go to your website (Linux) console and login, either via SSH, Putty or anything else possible.
2) Run the following command to turn off all running services:
/sudo /opt/bitnami/ctlscript.sh stop
You may want to change the path accordingly to your website path.
3) Run the following command to renew existing Let’s Encrypt HTTPS Certificate.
sudo /opt/bitnami/letsencrypt/lego –tls –email=”this_is@email.com” –domains=”jilaxzone.com” –path=”/opt/bitnami/letsencrypt” renew –days 90
You may want to change the path, email and domain accordingly. But stick with 90 days. You can go lower than 90 days but you can’t have higher than 90 days. Let me explain more on this later below.
Note: If you have multiple domains/subdomains, you can add multiple domains and subdomain (as long as they are under one domain).
4) You should see [your domain here] Server responded with a certificate. Which means you have successfully renewed Let’s Encrypt HTTPS Certificate for the next 90 days.
5) Finally, run the following command to turn back on all the services:
/sudo /opt/bitnami/ctlscript.sh start
You may want to change the path accordingly to your website path.
Why Let’s Encrypt HTTPS Certificate only last for 90 days?
The main reasons are these 2:
1) Avoiding damages from key compromises and mi-issuance.
2) To encourage automation, rather than handle manually (the steps given above is the manual way of doing renewal, I shall share how to automate it on the upcoming article)
So they stick with up to 90 days lifetime and not 6 months or 1 year like most paid Certificate Authority does.
Here’s in case you need the official link on reason why only 90 days lifetime: https://letsencrypt.org/2015/11/09/why-90-days.html.
Do you have anything you want me to cover on my next article? Write them down on the comment section down below.
Alternatively, find more interesting topics on JILAXZONE:
JILAXZONE – Jon’s Interesting Life & Amazing eXperience ZONE.
Hi, thanks for reading my curated article. Since you are here and if you find this article is good and helping you in anyway, help me to spread the words by sharing this article to your family, friends, acquaintances so the benefits do not just stop at you, they will also get the same goodness and benefit from it.
Or if you wish, you can also buy me a coffee:

Thank you!
Live to Share. Share to Live. This blog is my life-long term project, for me to share my experiences and knowledge to the world which hopefully can be fruitful to those who read them and in the end hoping to become my life-long (passive) income.
My apologies. If you see ads appearing on this site and getting annoyed or disturb by them. As much as I want to share everything for free, unfortunately the domain and hosting used to host all these articles are not free. That’s the reason I need the ads running to offset the cost. While I won’t force you to see the ads, but it will be great and helpful if you are willing to turn off the ad-blocker while seeing this site.


