RetroArch: How to Change Disc / Disc Swapping. Works RetroArch for PC, Android, iOS, SBC Gaming & Retro Handhelds
Wondering how to change disc on games that come with multiple discs, such as Final Fantasy series on PlayStation? Well, I got you covered. While the steps below is based on RetroArch PlayStation PCSX ReARMed core, however the changing disc steps on RetroArch is generally the same. The steps are also the same regardless of the platform you are using, be it (but not limited to) RetroArch on PC, RetroArch for Android, RetroArch for iOS or RetroArch that runs on many SBC Gaming and Retro Handhelds.
Prerequisites (one-time steps)
RetroArch uses .m3u file (they called it “Playlist” file) to get to know whether your game is multi-disc or single disc. Single disc game doesn’t need .m3u file, while multi-disc games require .m3u file to make it easy to switch between disc.
So, here’s how you can create the .m3u file for the multi-disc game you intend to play on RetroArch:
(I would highly recommend doing these prerequisite steps on your PC although you are running RetroArch for Android/iOS, however if you can figure out how you can do the steps directly from your Android/iOS/other handheld device, then go for it – the end goal is to create the .m3u file for the game you want to play).
Step 1) Using Notepad or Notepad++ on PC, create a new file. You can use any text editor in case you don’t have Notepad or Notepad++.
Step 2) Check your multi-disc game folder and write down the .cue filenames into the new file.
E.g.: For Final Fantasy IX USA region, you should see the following .cue files under the game folder.
Final Fantasy IX (USA) (Disc 1).cue
Final Fantasy IX (USA) (Disc 2).cue
Final Fantasy IX (USA) (Disc 3).cue
Final Fantasy IX (USA) (Disc 4).cue
Write all .cue filename into the new file.
(sample above is for PlayStation game with .cue file, if your game is using different extension (such as .chd), then use that game extension instead).
Step 3) Once done, save the new file with the “Game Name” and with the .m3u as the extension.
E.g.: For Final Fantasy IX USA region, since the .cue file is name like this: Final Fantasy IX (USA) (Disc 1).cue, Final Fantasy IX (USA) (Disc 2).cue, Final Fantasy IX (USA) (Disc 3).cue, Final Fantasy IX (USA) (Disc 4).cue, the “Game Name” would be “Final Fantasy IX (USA)” – basically take out the (Disc 1), Disc 2), etc from the filename, you’ll get the “Game Name”.
Since the “Game Name” in this case is “Final Fantasy IX (USA)”, then you should name the new file as “Final Fantasy IX (USA).m3u” (without the double quotes).
Step 4) Transfer the .m3u file you have just created into the same folder/directory where your game exists.
That’s it. You have just done the prerequisites, now go for the actual “Changing Disc” steps.
Here’s how to easily change disc on RetroArch
Once you have done the one-time prerequisites setup, do the following steps:
(Do note: You can only perform these steps when your game has reached the “Change Disc” section. Once you are prompted to change game disc, only then do the following steps).
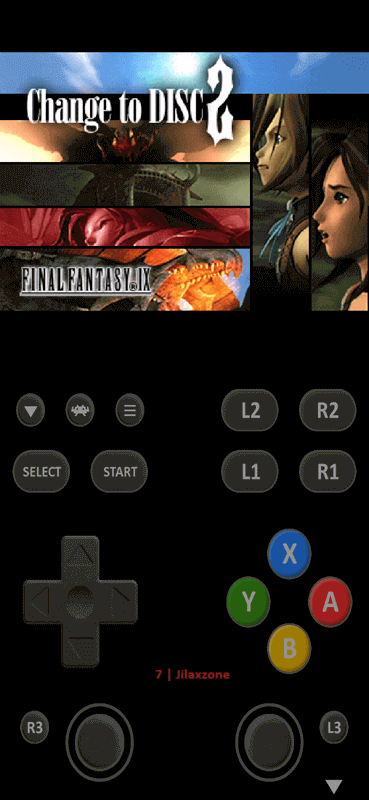
Step 1) Wait until “Change to Disc 2” appear.
Step 2) Then open up the RetroArch In-Game Menu (Press “F1” if you are using PC, tap on the RetroArch logo if you are using Android/iOS to go to RetroArch In-Game Menu).
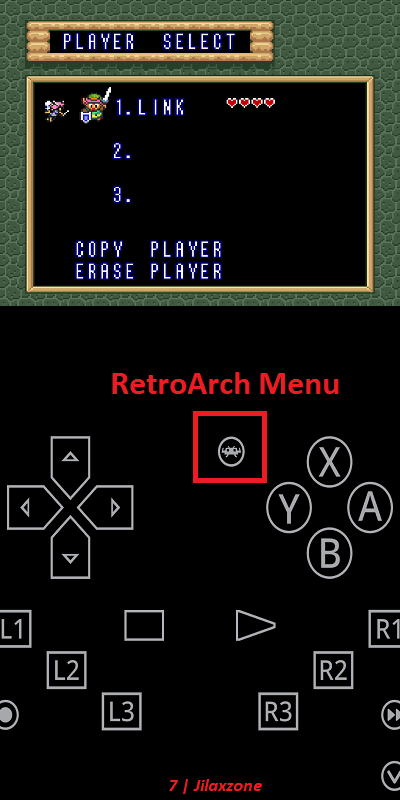
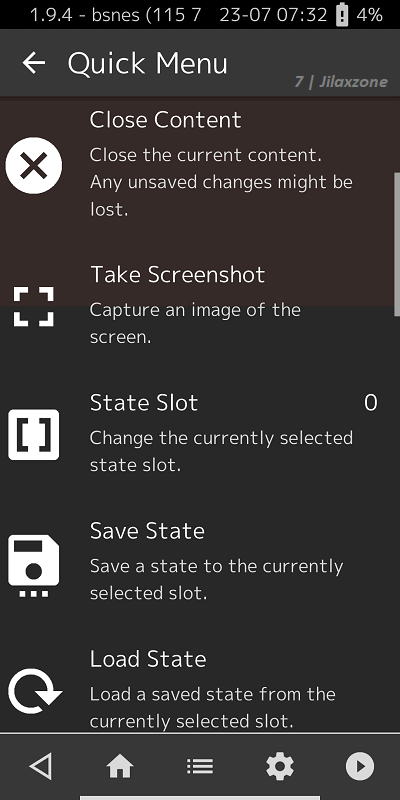
Step 3) On the RetroArch In-Game Menu – Quick Menu section, scroll down until you find “Disc Control”. Click/tap on it.
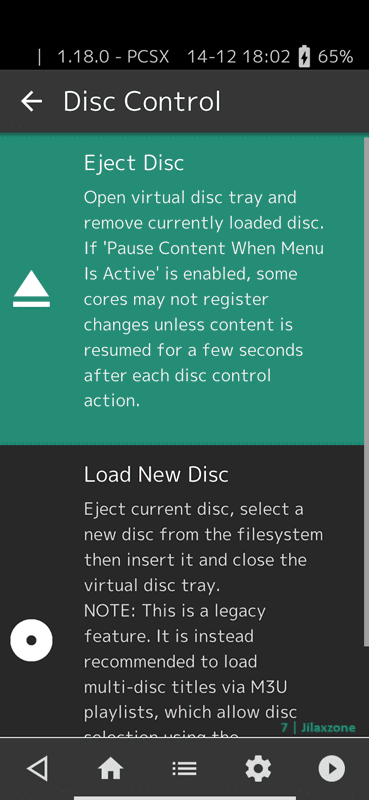
Step 4) Under “Disc Control” screen, click/tap on “Eject Disc” – this is like on the real console, where you eject the disc. A new sub-menu will appear, labeled “Current Disc Index”.
Step 5) Click/tap on “Current Disc Index” and select the game disc you want to play into – in this case, you want to select Disc 2 (or Disc 3 or Disc 4).
Step 6) In case you can’t find your Disc 2/Disc 3/Disc 4, don’t panic. Go back to “Disc Control” screen, then click/tap on “Load New Disc”. Browse, find and then select your Disc 2/Disc 3/Disc 4. Then repeat Step 5). Skip this Step 6) if you can select the Disc you want to play.
Step 7) Back into “Disc Control” screen, this time, click/tap on “Insert Disc”.
Step 8) In case the game isn’t resume automatically, do close the RetroArch In-Game Menu by clicking/tapping on “Resume”.
If you do it correctly, your game should continue running on the next Disc. Repeat the same steps for changing to Disc 3 or Disc 4.
In summary the steps are like when you are playing on the actual console, when changing disc, you need to first eject the disc, then insert a new disc.
Controllers Recommendation – Play better with Controller!
Playing retro games is always better with controller!
While you can always use the touchscreen of the iPhone to play the games, but for greater fun and enjoyment, I would recommend you to play the games with the Controller using physical buttons – so the experience is (almost) the same as the original. Just in case you need recommendation, here they are. I am personally using Nimbus and DualShock 4 to play the games.
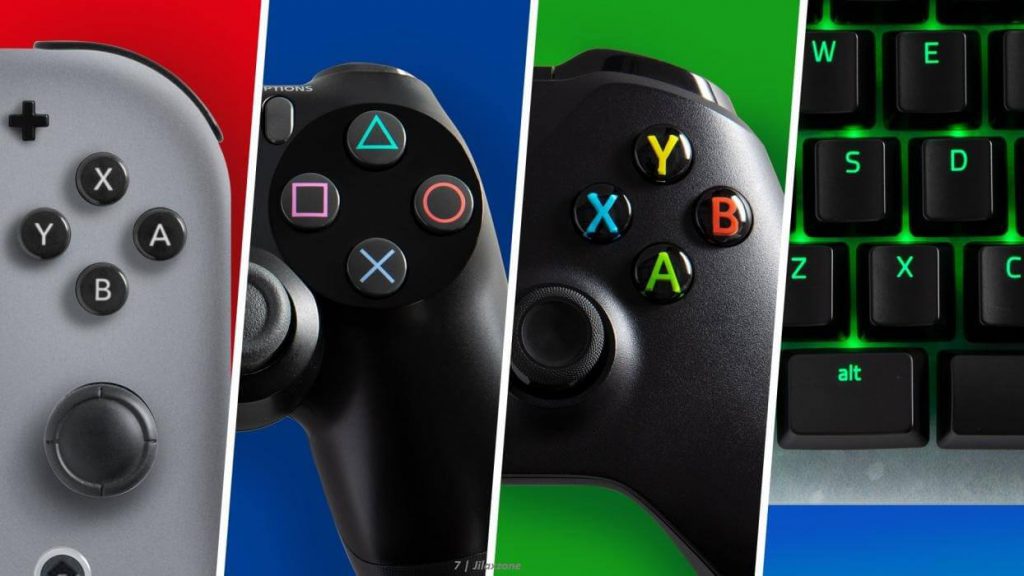
All controllers’ images shown below are trademarks of the respective owners.
8BitDo M30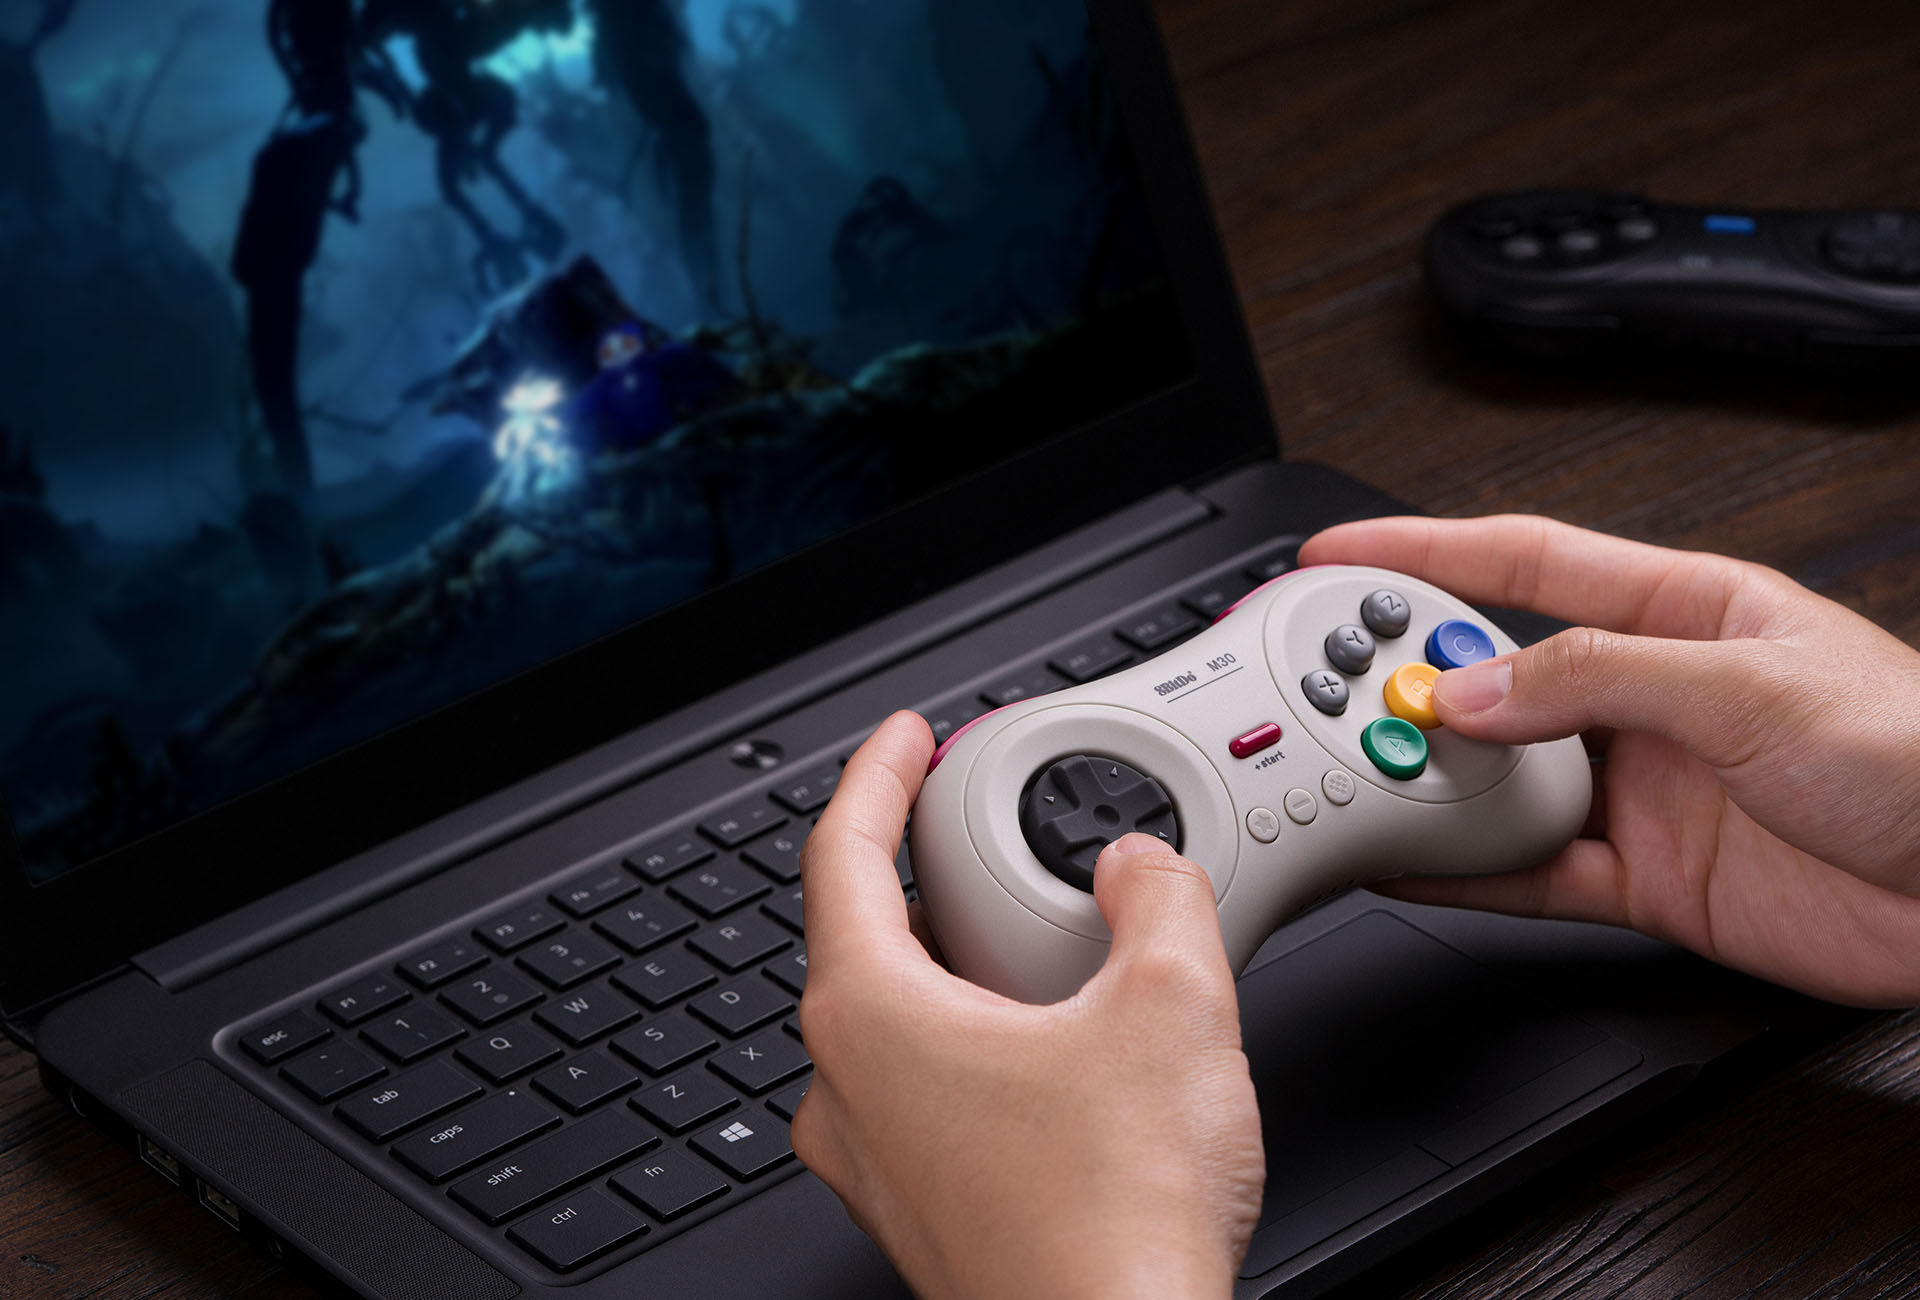 | The Bluetooth controller that looks like the 6-button SEGA Genesis / Mega Drive controller. Get 8BitDo M30 on Amazon Get 8BitDo M30 on AliExpress Get 8BitDo M30 Android/iPhone Clipper on AliExpress |
Backbone Controller 2nd Generation with USB-C / Lightning | The controller that uses USB-C (or lightning) to connect. Very handy and portable to carry around. Get Backbone Controller on Amazon |
Razer Kishi | Best telescopic controller for iPhone. It comes with Lightning connector for passthrough charging as well as better low-latency gaming. In case you need it: Get Razer Kishi for Android on Amazon Get Razer Kishi for Android on AliExpress Get Razer Kishi for iPhone on Amazon Get Razer Kishi for iPhone on AliExpress |
SteelSeries Nimbus+ | For playing iOS games. I like it because it’s MFi certified – Made for iOS, any controller-compatible games will for sure run with this controller. In case you need it: Get SteelSeries Nimbus+ on Amazon Get Nimbus iPhone clipper on AliExpress. |
Xbox Series X|S Wireless Controller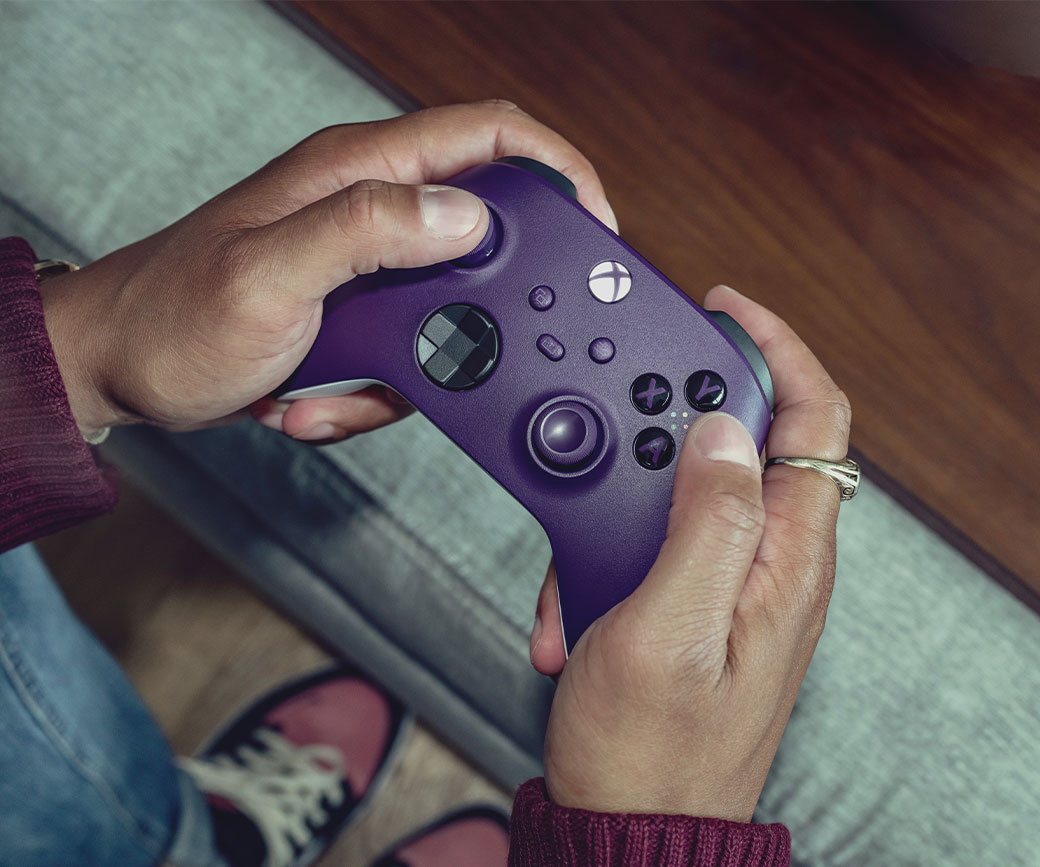 | Great controller from Xbox compatible with your Xbox (of course!) as well as Windows PC, Android and iOS, recommended for those with big hands. Read here for pairing Xbox Series X|S Controller with your iPhone at JILAXZONE. In case you need it: Get Xbox Series X|S Wireless Controller on Amazon Get Xbox Series X|S Android/iPhone Clipper on AliExpress Get Xbox One Controller on Amazon Get Xbox One Controller on AliExpress Get Xbox One Android/iPhone Clipper on AliExpress |
PS5 DualSense | Awesome controller from PlayStation compatible with your PS5 (of course!) as well as Android and iOS, recommended for those with smaller hands. Read here for pairing PS5 DualSense Controller with your iPhone at JILAXZONE. In case you need it: Get PS5 DualSense on Amazon Get PS5 DualSense Android/iPhone Clipper on AliExpress |
PS4 DualShock | While DualSense is the latest PlayStation controller but doesn’t mean DualShock 4 is bad. DualShock 4 is indeed one of the cheaper alternatives to get into gaming on your Android and iOS, recommended for those with smaller hands. In case you need it: Get PS4 DualShock 4 on Amazon Get PS4 DualShock 4 on AliExpress Get PS4 DualShock 4 Android/iPhone Clipper on AliExpress |
Here’s my own setup:
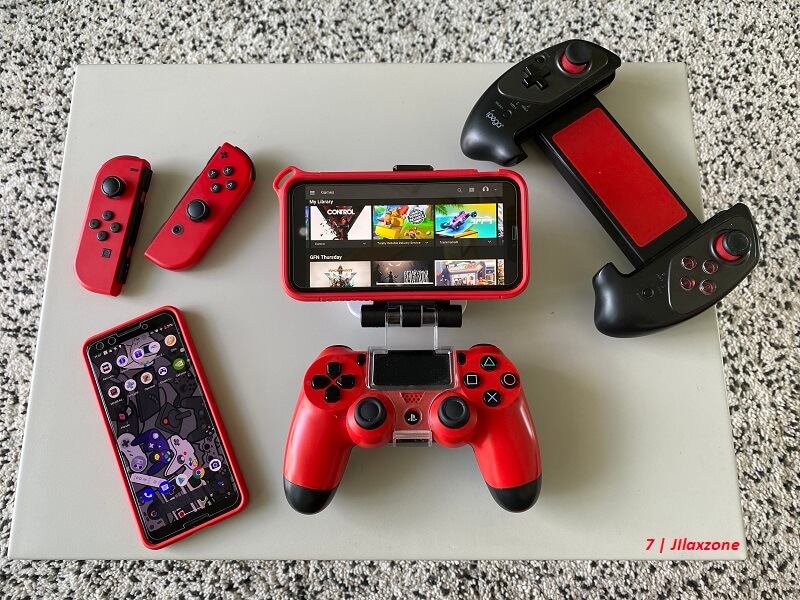
Note: If you buy anything from Amazon / AliExpress using links above, I will earn a small commission at no extra cost charged on your purchases.
Bring it all together
Super easy, isn’t it? You just learned how to change disc on the RetroArch. In case you encountered any difficulties and/or have queries, don’t hesitate to put your queries or thoughts on the comment section down below. I’ll be happy to assist.
Just in case my steps above aren’t that clear (or there’s something you couldn’t figure out), do check out the YouTube video below by WatsonatorTV, where he’s sharing how to change disc (he’s showing for RetroArch on PC, however the same steps work as well on RetroArch for Android/iOS).
Do you have anything you want me to cover on my next article? Write them down on the comment section down below.
Alternatively, find more interesting topics on JILAXZONE:
JILAXZONE – Jon’s Interesting Life & Amazing eXperience ZONE.
Hi, thanks for reading my curated article. Since you are here and if you find this article is good and helping you in anyway, help me to spread the words by sharing this article to your family, friends, acquaintances so the benefits do not just stop at you, they will also get the same goodness and benefit from it.
Or if you wish, you can also buy me a coffee:

Thank you!
Live to Share. Share to Live. This blog is my life-long term project, for me to share my experiences and knowledge to the world which hopefully can be fruitful to those who read them and in the end hoping to become my life-long (passive) income.
My apologies. If you see ads appearing on this site and getting annoyed or disturb by them. As much as I want to share everything for free, unfortunately the domain and hosting used to host all these articles are not free. That’s the reason I need the ads running to offset the cost. While I won’t force you to see the ads, but it will be great and helpful if you are willing to turn off the ad-blocker while seeing this site.

