How to get and run Steam Deck UI on your Steam Client running on Windows or Linux
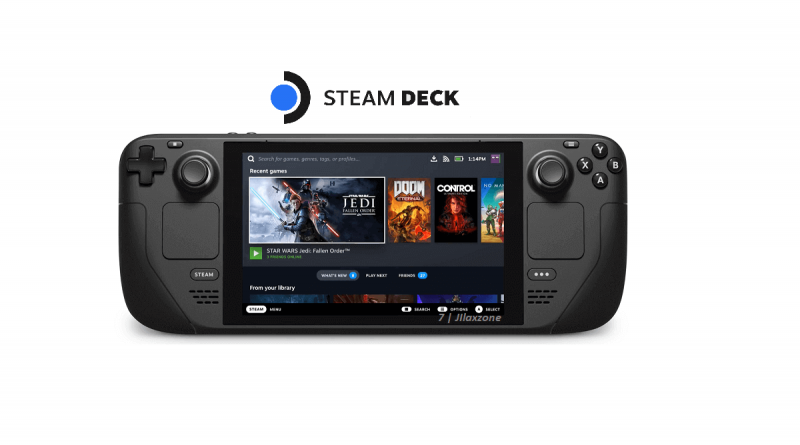
Wanted a taste of Steam Deck before or without owning one? Here you go.
Either you have reserved a Steam Deck before but your Steam Deck has not arrived yet or the region you live doesn’t have Steam Deck being sold there yet or you have no plan to buy a Steam Deck for whatever reasons they are but you want to get a taste of Steam Deck UI on your Windows or Linux (gaming) machine? Here you go. Using the following simple tips, you can have Steam Deck UI running on any of your Windows or Linux based computer – including AyaNeo or GPD Win devices.
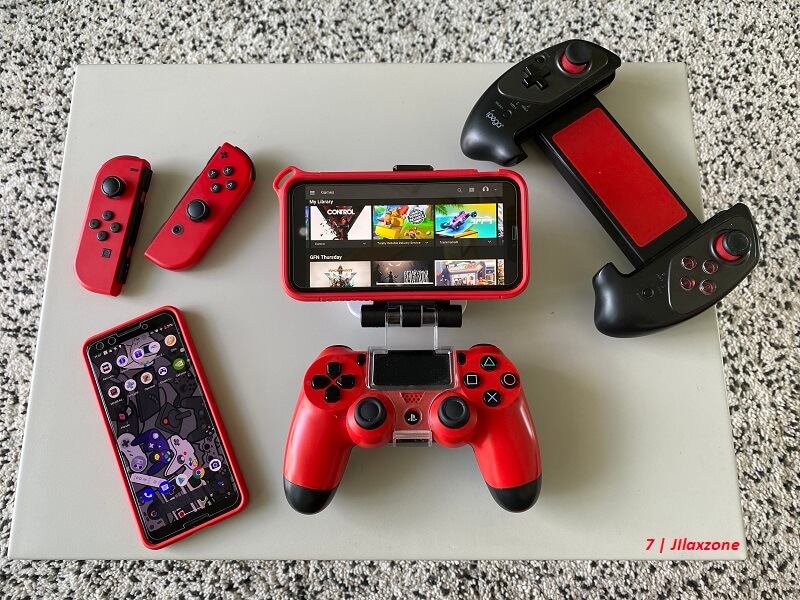
Prerequisites
Before starting, you should get the following prerequisites ready.
1) Steam Client. To have Steam client installed. If you have not, download Steam client here: https://store.steampowered.com/about/
2) Steam Account. In case you don’t have one yet, check out this link to register for a Steam account: https://store.steampowered.com/join/
How to get Steam Deck User Interface running on your Windows and Linux Computer
| The steps written here are tested on: a) Windows PC running Windows 11– at the time this article is written is Windows 11 Pro Preview Build 22563. In you are also using Windows and would like to install Windows 11, check the link here to get them installed: Getting Windows 11 and installing on your Computer at JILAXZONE. b) Steam Client with package version 1646448104. Should you are using different version computer OS (E.g.: Linux) or Steam Client version, the steps may be slightly different but should not deviate too much. Anyway, in case you have questions / issues, feel free to put them down on the comment section down below, I’ll be more than happy to help you. |
Follow these steps to get Steam Deck UI on your Steam client running on either Windows or Linux.
Step 1) Go to your Steam client installation folder and navigate to the “package” folder. On the default installation, it’s available here.
| Windows | C:\Program Files (x86)\Steam\package\ |
| Linux | ~/.steam/steam/package |
Step 2) Once the folder is opened, create a new empty file, and give it a name: beta. Notice the file “beta” is all in lower-case and does not have any file extension.
Step 3) Open the newly created “beta” file with any text editor.
Step 4) Inside the “beta” file, copy the following string of text.
Text to copy into beta: steampal_stable_9a24a2bf68596b860cb6710d9ea307a76c29a04d
Step 5) Save the “beta” file.
Step 6) Now go to your Desktop and find “Steam” desktop shortcut. Copy (Ctrl+C) and paste (Ctrl+V) the Steam desktop shortcut, so now you have 2 Steam desktop shortcut.
Step 7) Open one of the Steam desktop shortcut, by doing right click on the Steam desktop shortcut icon, then select “Properties” to open the Steam properties window.
Step 8) In Steam Properties window, navigate to the Target box, and add the following string of text.
| Option 1 | Add -gamepadui on the Target box. E.g. “C:\Program Files (x86)\Steam\Steam.exe” -gamepadui |
| Option 2 | Add -steamos3 -steampal -steamdeck -gamepadui on the Target box. E.g.: “C:\Program Files (x86)\Steam\Steam.exe” -steamos3 -steampal -steamdeck -gamepadui |
Only add to your Target box the bold text only. Leave the original path intact. Try the Option 1 first. Only if Option 1 is not working for you, then try Option 2. For my case, Option 1 worked great.
Step 9) Once added, click “Apply” and then click “OK” to close the properties window.
Step 10) Then double click to open the Steam client with Steam Deck GUI running.

If you do it correctly, you should see Steam Deck logo being animated and it will prompt you to login to your credential (if this is your first time logging in). Follow the instruction and enjoy playing the games using the Steam Deck user interface!
PS: The steps are originally made known by Reddit user u/GB_2_ and u/Moxvallix so all credit goes to the original authors. What I do here is to further expanded the steps by providing all step by step in details so that not only geeks understand how to do it. In case you would like to see the original reddit thread, check it out here: How to get the Steam Deck UI on Windows/any Linux OS! at Reddit.
Bring it all together
With the steps provided above, now you can taste how Steam Deck user interface looks like and behaves should you get the actual Steam Deck device. The Steam Deck UI is best to be used and controlled by a controller. See the recommendation below for great and affordable controller to play Steam and other PC games on your computer. In case you encounter any issues/difficulties, don’t hesitate to write your queries down below on the comment section. I’ll be happy to assist!
Interested to see other Steam and Steam Deck related tips and tricks? Check them out here: Steam and Steam Deck at JILAXZONE.
Controllers Recommendation
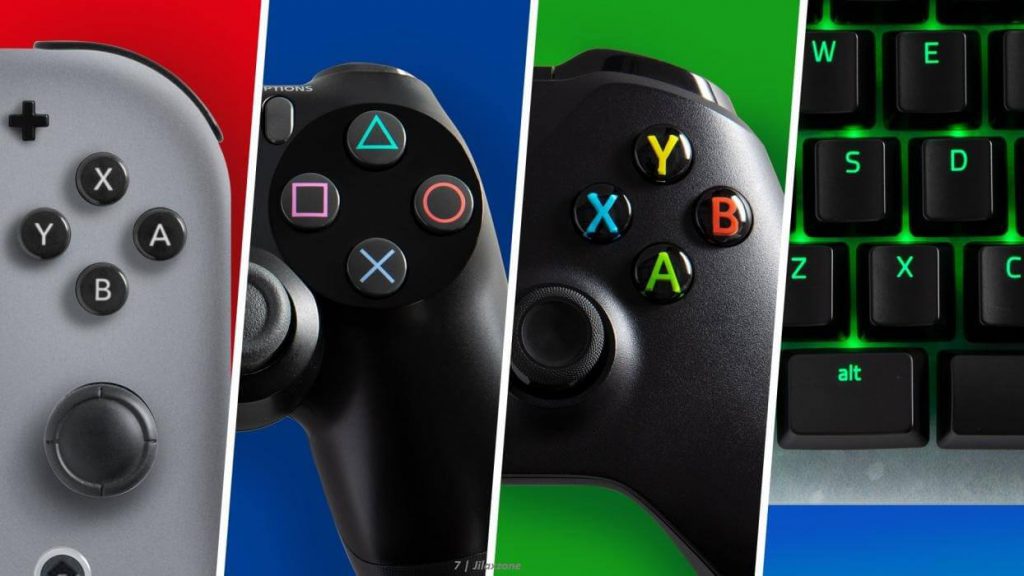
If you can get a controller that works great on both PC, Android and iOS / iPadOS platform, then why not?! Not only, it saves you from the hassle of keep changing the controller and get used to the other controller, but also, getting a controller that works great on both platforms will also save your money, so you can either invest it or spend it elsewhere. Here they are the list.
FYI, included on the list are only those that works with PC, Android & iPhone or iPad. I also included the link to purchase them as well – just in case you need it.
| Xbox Series X|S Wireless Controller |  | Great controller from Xbox compatible with your Xbox (of course!) as well as Windows PC, Android, iOS and Nintendo Switch (via 8BitDo Wireless USB Adapter), recommended for those with big hands. Read here for pairing Xbox Series X|S Controller with your iPhone at JILAXZONE. In case you need it: Get Xbox Series X|S Wireless Controller on Amazon Get Xbox Series X|S iPhone Clipper on AliExpress |
| PS5 DualSense |  | Awesome controller from PlayStation compatible with your PS5 (of course!) as well as Android, iOS and PC, recommended for those with smaller hands. Read here for using PS5 DualSense on PC: Use Any Generic Bluetooth Controller to play games on Windows PC – PC Games, Steam, Emulator, or anything on PC at JILAXZONE. In case you need it: Get PS5 DualSense on Amazon Get PS5 DualSense iPhone Clipper on AliExpress |
| PS4 DualShock |  | While DualSense is the latest PlayStation controller, but doesn’t mean DualShock 4 is bad. DualShock 4 is indeed one of the cheaper alternative to get into gaming on your Android, iOS and PC, recommended for those with smaller hands. Read here for using PS4 DualShock on PC: Use Any Generic Bluetooth Controller to play games on Windows PC – PC Games, Steam, Emulator, or anything on PC at JILAXZONE. In case you need it: Get PS4 DualShock 4 on Amazon Get PS4 DualShock 4 on AliExpress Get PS4 DualShock 4 iPhone Clipper on AliExpress |
| Xbox One Wireless Controller |  | This is the previous generation of Xbox Controller. Although previous generation, it’s still a great controller to use with your Xbox One (of course!) as well as Windows PC, Android, iOS and PC. This controller is recommended for those with big hands. The main controller appeal is the fact that it’s much cheaper than the Xbox Series X|S wireless controller. In case you need it: Get Xbox One Controller on Amazon Get Xbox One Controller on AliExpress Get Xbox One iPhone Clipper on AliExpress |
| iPega 9083S |  | Telescopic controller that’s value for money. Not only it compatibles with PC and Android, it also compatible with Nintendo Switch. Use Bluetooth to connect. In case you need it: Get iPega 9083S on Amazon Get iPega 9093S on AliExpress Check it out here to see iPega 9083S in action: YouTube link |
Note: If you buy anything from Amazon / AliExpress using links above, I will earn a small commission at no extra cost charged on your purchases.
Do you have anything you want me to cover on my next article? Write them down on the comment section down below.
Alternatively, find more interesting topics on JILAXZONE:
JILAXZONE – Jon’s Interesting Life & Amazing eXperience ZONE.
Hi, thanks for reading my curated article. Since you are here and if you find this article is good and helping you in anyway, help me to spread the words by sharing this article to your family, friends, acquaintances so the benefits do not just stop at you, they will also get the same goodness and benefit from it.
Or if you wish, you can also buy me a coffee:

Thank you!
Live to Share. Share to Live. This blog is my life-long term project, for me to share my experiences and knowledge to the world which hopefully can be fruitful to those who read them and in the end hoping to become my life-long (passive) income.
My apologies. If you see ads appearing on this site and getting annoyed or disturb by them. As much as I want to share everything for free, unfortunately the domain and hosting used to host all these articles are not free. That’s the reason I need the ads running to offset the cost. While I won’t force you to see the ads, but it will be great and helpful if you are willing to turn off the ad-blocker while seeing this site.

Trying to run this on a OneXPlayer 1S; all works well apart from trying to stream a game from my desktop via Remote Play, because the B button just quits the game. Tried everything but no joy…
Hi Chris,
Have you tried mapping the buttons? Also, which Remote Play software were you using?
Hi there.
Thanks for this its amazing, however i have aissue when i run this it goes through the SteamOS startup asking language and location then internet at which point it just loops.
Any idea how to get this sorted.?
Im on Arch linux.
Hi Denis,
Unfortunately I never encounter it, hence let me find and update you on it.