Virtual Machine for iOS: Guide how to download and install UTM VM app on iPhone without jailbreak
iPhone, iPad and iPod Touch can now run Windows, Mac OS, Linux directly.
Until recently, there’s no viable solution for running desktop application (be it Mac OS, Windows or Linux application) directly from your iPhone. There are however, apps for doing remote desktop (such as Microsoft Remote Desktop, TeamViewer) but they need the host computer to be turned on and required either a network connection (Eg: WiFi) or internet connection to work. There were no Samsung DeX like application for iOS and so far there was no virtual machine app on the App Store. On the latter, likely it’s because despite iPhone and iPad spec is getting better, matching the specs of a computer, the Apple A-series chip (Eg: Apple A13 found on iPhone 11 Pro) is lacking hardware virtualization.
Then I came across one posting in Reddit, telling there’s an active virtual machine development for iOS. After digging here and there, I found and managed to install it on my iPhone 7 Plus running latest iOS. The app name is UTM. However, unlike normal apps, UTM so far is not available on the Apple App Store (mainly for reason stated above), so to get it up and running on your iPhone (or iOS device) require some efforts.
So here I am going to summarize my findings so that you don’t need to go here and there, and give you a detail step by step guide to install and run a Virtual Machine on an iPhone (or other iOS device), running latest iOS. Yes, all without jailbreaking.
As of when this article is written, the latest Public Beta iOS available is iOS 13.5.4 – depends on when you read this, you may or may not use the same iOS version as me, but the steps provided here should be more or less the same.
Installing UTM on iOS – The Virtual Machine for iPhone
Some of the steps mentioned here you can skip them if you have done it before. In summary, here they are.
1) Install iTunes on Computer.
2) Register for Apple FREE Developer Account.
3) Generate App Specific Password.
4) Install AltStore to Computer.
5) Connect your iPhone.
6) Install AltStore to iPhone.
7) Get the latest UTM build for iOS.
8) Install UTM to iOS.
9) Run UTM on iOS.
All the 6 steps above (Step #1 to step #6) – including all download links, I have detailed and provided them here on this link. You need about 15-30 minutes, depends on your internet connection to complete everything – since mostly are either downloading software or registering account.
For step #7 to step #9, here are the details.
Article continues below.
Popular on JILAXZONE today:
7) Get the latest UTM build for iOS.
The latest UTM build:
- If you are on iOS 13 or up: you can download using Safari on your iPhone directly.
- If you are on iOS 12 or below: my recommendation is to download UTM on a computer, then transfer it to a File Explorer app, such as USB Disk Pro (It’s a paid software, but I download it when it was free. You can always opt for other free alternative).
UTM latest build for iOS can be downloaded here: UTM iOS Download link.
On the GitHub page, expand the “Assets” to get the IPA file. Click on UTM.ipa to download it. In case you don’t know, IPA is iOS Application Package (iOS app/game file – it’s like EXE file for Windows or APK file for Android). As of when this article is written, the latest UTM Virtual Machine version available is version 1.0-rc5.
8) Install UTM to iOS.
Locate the UTM IPA file on your iPhone.
- If you are on iOS 13 or up and download directly from iPhone: The IPA file you downloaded should be in Files app.
- If you are on iOS 12 or below: Open the app you used to transfer the IPA file to your iPhone.
Once you locate the UTM IPA file, tap on the IPA file, then press the arrow up button, to show you list of apps available to open the file. If you can’t see AltStore listed there, then scroll until the end and tap “More”.
Find “AltStore” or “Copy to AltStore” and tap on it.
AltStore shall get opened and begin sideloading the UTM IPA file. Within minutes, you should be able to see the UTM icon on iPhone Home screen.
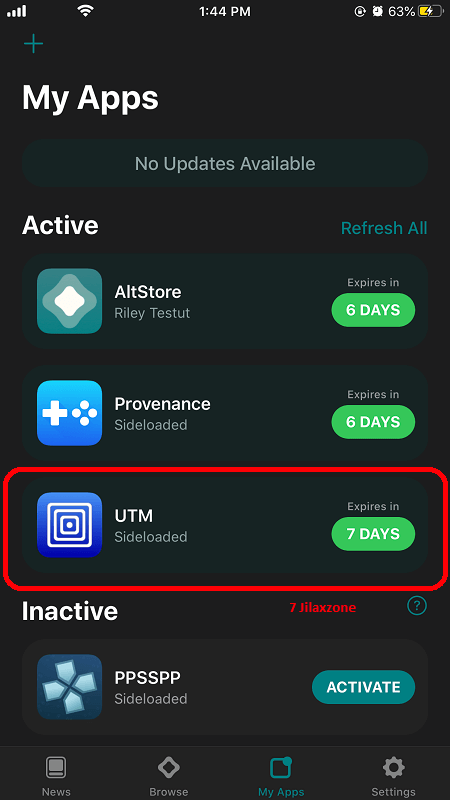
Yes, you just installed UTM Virtual Machine on iPhone successfully!
9) Run UTM on iOS
Running UTM on iOS is as simple as tapping the icon on iOS Home Screen. First you’ll see a white page, after sometime, you’ll be presented with a blank page with 2 buttons on top of the screen: “X” button to close the app and “+” button to add a new Virtual Machine image.
10) Run the Virtual Machine image
If you don’t have any Virtual Machine image, don’t worry, proceed to the next section below on how to get one or if you adventurous enough, you can build the image yourself – steps provided below.
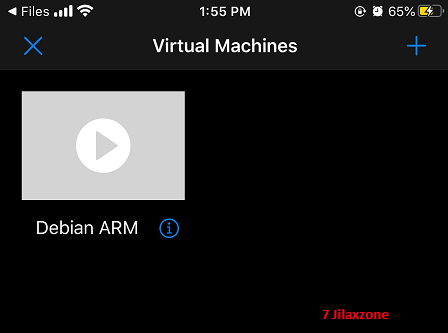
If you have Virtual Machine image already, press the play button on the Virtual Machine image to start the Virtual Machine. Press (i) to configure it (Eg: change the CPU Architecture, RAM or disk size).
At this point in time, the Virtual Machine app is up and running already. What you need now is the Virtual Machine image – be it Windows, Mac OS, Linux or Android.
Where to find the Virtual Machine for UTM?
Good thing is that, people who develop UTM has already made some FREE prebuilt VM images which you can download – of course for FREE!
They have: Android 9.0 and Debian which both using ARM architecture, Ubuntu 18 and ReactOS which run on X86_64 architecture.
Head here to get the FREE prebuilt VMs: UTM FREE VM Collections.
I recommend you – if you are not using the latest greatest iPhone – to download the Debian version.
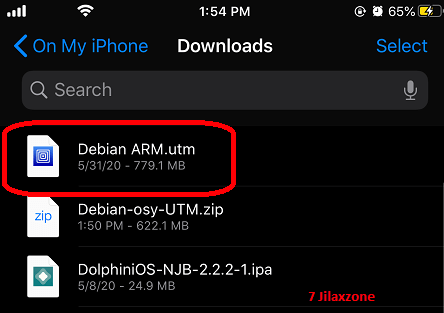
Once downloaded, open the File Explorer app, it’s in form of zip file. Tap on the zip file to extract the .utm file inside. Tap on the .utm file to add it to the UTM VM app.
How to create your own VM image from UTM?
The VM images selection is boring? In this case you may want to create the VM image yourself.
To create a VM image yourself – either Windows, Mac OS, Linux, etc, do the following steps:
1) Download the OS bootable ISO.
2) Run UTM app, on top right of the screen, tap on the “+” button to create a new VM.
3) On Create VM window, under Name, you can leave default as “Virtual Machine 1” or my recommendation is to give proper name. If this is VM image for Windows XP, label it as “Windows XP VM”
4) On Architecture, if it’s a 32-bit or 64-bit X86 based OS (like Windows and Mac OSX), choose “x86_64”. If it’s ARM based, choose either ARM (for 32-bit) or ARM64 (for 64-bit). Otherwise, please choose the respective architecture. If you are unsure, Google is your best friend. Eg: Google “Windows 10 CPU Architecture”.
5) Leave “System” and “Memory” on default settings.
6) Tap on “Setup Drives/Images”.
Adding the bootable ISO
7) Under Drives/Images, tap on the “+” button to add a new drive.
8) Under New Drive/Image, tap on “Path” to open the image selector.
9) Under Select image, tap on “+” then choose “Import” to start importing your bootable ISO (which you download from Step #1 above).
10) The bootable ISO will be added to the list. Tap on this entry then on “Image Type”, change it to “CD/DVD Image”. Once done, press “Back”.
Adding the hard disk image
11) Now back to Drives/Images, press “+” again to add a new drive.
12) Under New Drive/Image, tap on “Path” to open the image selector.
13) Under Select Image, tap on “+” then choose “Create” to create the hard disk image.
14) Under Disk Image, under “Name”, you can leave the default name (Eg. “hda.img”) then under “Size” give it at least 3 times your bootable ISO, but to be save, put 10240 MB. Anyway according to UTM documentation, the drive won’t take up the space directly, it will grow in size as of when it needs the storage space and until it hits this size or your device runs out of space.
16) Tap on “Save”.
17) A new disk image entry will be added to the list. Tap on this entry. The default location works here. Press “Back”.
18) Tap on “< Create VM” then tap on “Save”.
You just did the configuration for the new VM image. Now you can run it to perform the needed installation by tapping on the VM image. Once you managed to install the OS, you can then edit the VM to delete the CD/DVD image/ISO.
Turning off UTM
While you can kill the VM app by activating iOS task switcher then swipe up, but it’s recommended you tap on “X” button on top left of the screen to quit and turn of UTM.
Typical issue found on UTM
During your attempt to install and run UTM, you may encounter these issues. As I use UTM more frequently, I shall update my findings on the error I found and stuck for, and if any, posted the solution/fix here.
Issue 1: UTM unable to launch. It only shows blank white screen
Try to restart your iOS device. Then after restart, try again. If the blank white screen error still persists, try to re-install UTM. On my case, re-installing UTM solve the blank white screen error.
Issue 2: QEMU exited from an error: qemu: cannot set up guest memory ‘mach=virt.ram’: Cannot allocate memory
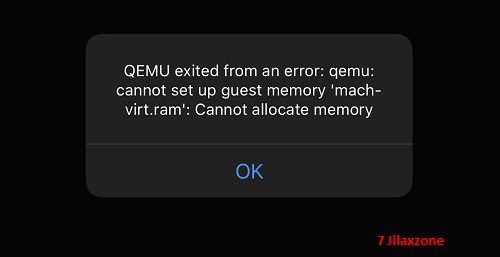
This is basically your iPhone (or iOS device) doesn’t have enough memory to run the VM image. Under the VM image, tap on the (i) icon to open the configuration. Lower the RAM until you can boot the VM image.
I’m using iPhone 7 Plus which has 3GB of RAM out of the box. However so far I’m unable to run any VM image with 1GB RAM setting. When I lowered to 512MB, I’m able to boot the debian VM image.
Don’t wait to try it out
Hey, what are you waiting for? Let me tell you upfront – tough the steps look very complicated and long, they are not as bad as you think. And anyway, it’s worth the efforts. People managed to run Windows 7 and Mac OSX on their iPad Pro. Since I have only iPhone 7 Plus on hand right now, while I won’t be able to run either Windows 7 or Mac OSX, but at least I can run Linux Debian from my iPhone!
Do you have anything you want me to cover on my next article? Write them down on the comment section down below.
Alternatively, find more interesting topics on JILAXZONE:
JILAXZONE – Jon’s Interesting Life & Amazing eXperience ZONE.
Hi, thanks for reading my curated article. Since you are here and if you find this article is good and helping you in anyway, help me to spread the words by sharing this article to your family, friends, acquaintances so the benefits do not just stop at you, they will also get the same goodness and benefit from it.
Or if you wish, you can also buy me a coffee:

Thank you!
Live to Share. Share to Live. This blog is my life-long term project, for me to share my experiences and knowledge to the world which hopefully can be fruitful to those who read them and in the end hoping to become my life-long (passive) income.
My apologies. If you see ads appearing on this site and getting annoyed or disturb by them. As much as I want to share everything for free, unfortunately the domain and hosting used to host all these articles are not free. That’s the reason I need the ads running to offset the cost. While I won’t force you to see the ads, but it will be great and helpful if you are willing to turn off the ad-blocker while seeing this site.